When it comes to decorating cakes and cookies with elegance and precision, nothing quite compares to the timeless charm of royal icing. Its glossy finish and delicate texture transform simple treats into edible works of art, making it a favorite among bakers and decorators alike. But achieving that perfect smoothness and just-right sweetness can be a tricky dance of ingredients and technique.In this article, we’ll unlock the secrets behind the perfect royal icing recipe and share expert tips to help you create flawlessly smooth, irresistibly sweet decorations every time. Whether you’re a seasoned pro or a passionate beginner, get ready to elevate your baking game with the ultimate guide to royal icing mastery.
Perfect royal icing recipe: tips for smooth, sweet decor begin with selecting only the finest, freshest ingredients. The magic of a flawlessly glossy and silky icing starts here, making your decorated cookies, cakes, and cupcakes truly breathtaking. This classic icing has roots in customary European patisserie but has since become a beloved staple for bakers and decorators worldwide, known for its versatility and stunning finish.
Prep and Cook Time
Preparation: 15 minutes | Mixing: 10 minutes | Total: 25 minutes
Yield
Makes approximately 3 cups of royal icing-enough to decorate a dozen standard-sized sugar cookies.
Difficulty Level
Easy to Medium: Perfect for beginners with a little practice, yet advanced decorators will appreciate the control it offers.
Ingredients
- 4 cups (480g) powdered sugar, sifted
- 3 tbsp meringue powder (preferably a high-quality brand for stability and sheen)
- 5 tbsp warm water
- 1 tsp pure vanilla extract (or almond extract for a subtle twist)
- Gel food coloring (optional, use sparingly for vibrant hues)
Instructions
- Combine powdered sugar and meringue powder in a large mixing bowl. Sifting beforehand ensures a lump-free start.
- Add warm water and vanilla extract gradually, beating on low speed with a stand mixer or hand mixer to avoid powder clouds.
- Increase to medium speed and mix until the icing forms stiff, glossy peaks-usually 5 to 7 minutes. This silky smooth texture is your canvas for decorating.
- Adjust icing consistency by adding a teaspoon of water for thinner “flood” icing or powdered sugar for a thicker “piping” version. Remember, the perfect royal icing recipe hinges on this step for ideal flow and hold.
- For colored icing, add gel food coloring in small increments, mixing well to avoid compromising the icing’s structure.
- Cover the bowl tightly with plastic wrap when not in use to prevent drying.
Chef’s Notes: Tips for Success
- Fresh Ingredients: Use fresh powdered sugar and meringue powder for maximum brightness and sheen. Avoid excess humidity wich can alter drying time.
- Whipping Time: Under-mixing results in runny icing; over-mixing may dry it out. Aim for smooth,glossy peaks that hold shape.
- Consistency Matters: For outlines, keep icing thicker; flood areas with thinner icing. practice on parchment to get a feel.
- Make Ahead: Royal icing keeps well up to a week if stored airtight in the refrigerator. Bring to room temperature and re-whip before use.
- Substitutions: Meringue powder replaces egg whites but if you prefer, pasteurized egg whites can be used cautiously for similar results.
- Humidity Tip: In humid climates, add a tiny pinch of cream of tartar to stabilize.
serving Suggestions
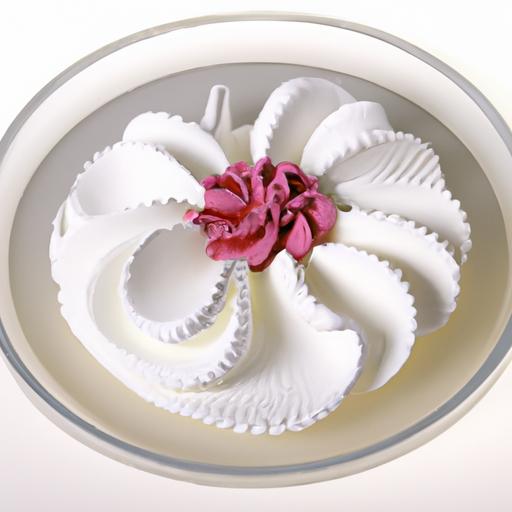
Onc dry,your royal icing presents a beautiful,glass-like finish perfect for detailed piping,stunning floral decorations,or whimsical shapes. For a seasonal touch, sprinkle edible mica dust, pearlized sugar, or tiny silver dragees over still-wet icing for a luxe shimmer.
Pair your decorated treats with a delicate cup of tea or sparkling lemonade for memorable festivities, parties, or thoughtful gifts. Storage in airtight tins keeps the decoration crisp and vibrant for weeks.

Essential Ingredient Conversion Table
| Ingredient | Measurement | Approx. Weight (grams) |
|---|---|---|
| Powdered Sugar | 4 cups | 480g |
| Meringue Powder | 3 tbsp | 30g |
| Water | 5 tbsp | 75ml |
Mastering the Mixing Process for Silky Smooth texture
Achieving a flawless finish in your perfect royal icing recipe rests heavily on your mixing technique. Use a stand mixer fitted with a whisk attachment for even incorporation, starting slow to combine ingredients and then whisking on medium-high for 5-7 minutes.The glossy peaks you aim for resemble soft meringue; light yet structured enough to hold delicate piping details.
Pro Tip: Occasionally scrape down the bowl sides to ensure every bit of sugar is fully dissolved and incorporated - this prevents graininess and yields a perfectly polished look.
tips for Achieving the Perfect Consistency Every Time
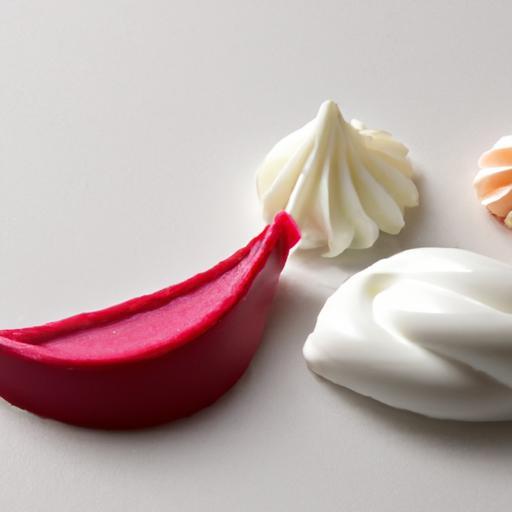
Consistency is king in royal icing magic! For intricate outlines,keep it thick so your designs stay sharp and don’t bleed. For filling or “flooding,” thin your icing just enough to flow smoothly within border lines. Test with a spoon: thin icing should gently drizzle off in a slow steady stream; thick consistency holds a peak without sagging.
Creative Decorating Techniques Using Your Perfect Royal Icing
With your smooth, sweet royal icing base ready, explore endless decorative possibilities: try layering colors while wet for seamless gradients, pipe elegant lacework, or create lifelike floral accents with careful strokes. utilizing royal icing’s rapid drying time, stack textures for three-dimensional effects or highlight details with edible glitters and metallic accents for eye-catching results.
For advanced decorators, practice a wet-on-wet technique by piping dots or lines atop flooding icing to form intricate patterns that self-level while drying.Experimentation unlocks the full creative potential of this timeless icing marvel.
For further inspiration, explore our cookie decorating ideas or consult the excellent resources on King Arthur Baking’s official site for detailed tutorials and ingredient insights.
Q&A
Q&A: Perfect Royal Icing Recipe – Tips for Smooth, Sweet Decor
Q1: What makes royal icing perfect for decorating?
A1: The secret to a perfect royal icing recipe is its silky-smooth texture and fast-drying finish. Properly made, it hardens to a glossy surface, ideal for intricate designs, vibrant cookie decorating, and delicate piped details. Balance, consistency, and technique are key to perfection.
Q2: What are the essential ingredients in royal icing?
A2: Classic royal icing uses three main ingredients: powdered sugar, egg whites (or meringue powder for safety), and a splash of lemon juice or vanilla extract. Powdered sugar provides sweetness and structure, egg whites add smoothness and firmness, and lemon juice stabilizes and adds a subtle tang.
Q3: Can I substitute raw egg whites safely?
A3: Yes! Meringue powder is a safe, convenient alternative. Pasteurized and easy to mix with water, it offers the same benefits as raw egg whites without health risks—perfect for kids or anyone concerned about raw eggs.
Q4: How do I achieve perfectly smooth royal icing consistency?
A4: Consistency is essential. For piping sharp outlines, use thick icing (like toothpaste). For flooding cookie surfaces, thin with a few drops of water until it flows smoothly but doesn’t run off. Add water gradually, one drop at a time, for best results.
Q5: Tips for preventing royal icing from cracking?
A5: Cracks often occur when icing is too thick or the air is too dry. To prevent cracking, add a tiny amount of corn syrup for elasticity, avoid overmixing, and store decorated cookies in an airtight container to maintain humidity.
Q6: How to keep royal icing usable for longer?
A6: Royal icing dries quickly, so cover it tightly with plastic wrap pressed directly on the surface or store in an airtight container. If it thickens, whisk in a few drops of water to restore the perfect consistency. Refrigerated royal icing can be revived the same way.
Q7: Pro decorating tips with royal icing?
A7: Practice on parchment before decorating cookies. Use small round piping tips for detailed lines and slightly larger tips for flooding. Gel food coloring provides vibrant hues without altering icing consistency. A steady hand and patience are essential for flawless designs.
Q8: Can I mix flavors without ruining royal icing?
A8: Yes! Extracts like almond, peppermint, or lemon zest add flavor, but liquid flavorings can thin icing. Stick to concentrated extracts and adjust water to maintain the right consistency.
Q9: Best way for beginners to practice royal icing?
A9: Start simple with straight lines, dots, and basic borders on parchment paper. Once confident, experiment with flooding and layering. Remember: every royal icing artist started with shaky lines—practice is key.
Q10: Any final secrets to creating that flawless, sweet royal icing masterpiece?
A10: Patience and precision are your allies. Take your time measuring ingredients, adjusting consistency, and letting layers dry fully before adding details. With each batch, you’ll get closer to that smooth, glossy, perfectly sweet icing that turns ordinary cookies into edible royal jewels. Happy decorating!
The Way Forward
With the perfect royal icing recipe in hand, your sugar artistry is set to reach dazzling new heights. Remember, the secret to that smooth, glossy finish lies not just in the ingredients, but in the gentle rhythm of mixing and the delicate balance of moisture. Armed with these tips and tricks, each piped flower, border, and intricate design will transform your baked creations into edible masterpieces.so, tie on your apron, grab your piping bag, and let your creativity flow-because with the right royal icing recipe, sweet success is just a whisk away.