When it comes to blending convenience with creativity in the kitchen, few appliances shine as brightly as the KitchenAid stand mixer.But did you know it can do more than just whip up fluffy dough and silky batters? Enter the world of homemade ice cream-a realm where chilling meets thrilling, and your taste buds embark on a delightful adventure. In this ultimate guide, “Chill & Thrill: Ultimate KitchenAid Ice Cream Recipe Guide,” we dive deep into transforming your trusty KitchenAid into the star of summer entertaining. From classic creamy vanilla to unexpected boozy concoctions and vibrant fruit swirls, get ready to churn, scoop, and savor your way through recipes that promise both simplicity and sensational flavor. Whether you’re a seasoned home chef or a curious beginner, this guide will turn your kitchen into the coolest spot in the house.
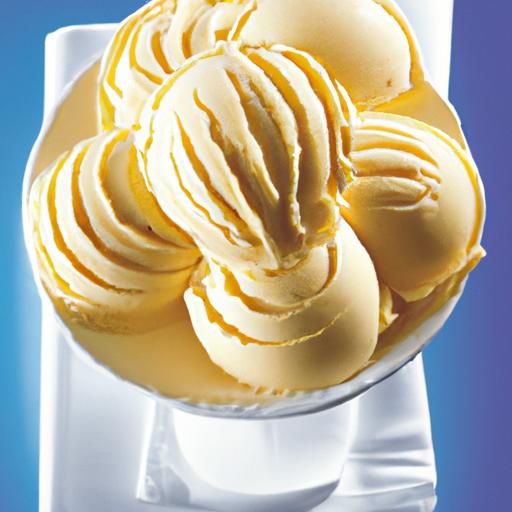
KitchenAid ice cream attachments unlock a world of creamy, homemade frozen delights that transform ordinary ingredients into extraordinary indulgences. Whether you’re a seasoned ice cream aficionado or a curious beginner, using this versatile tool ensures remarkably smooth, scoop-perfect textures every single time. From the first turn of the paddle to the final freeze, mastering your KitchenAid attachment is the key to elevating your chilled creations.
Prep and Cook Time
- Prep Time: 15 minutes
- Churning Time: 25-30 minutes
- Freezing Time: 2-4 hours (optional for firmer texture)
Yield
About 1 quart (4 servings)
Difficulty Level
Easy – Medium
Ingredients
- 2 cups heavy cream, cold
- 1 cup whole milk, cold
- 3/4 cup granulated sugar
- 1 tablespoon pure vanilla extract
- 4 large egg yolks
- Pinch of fine sea salt
- Optional add-ins: 1/2 cup chocolate chips, 1/2 cup crushed toasted nuts, or fresh fruit
Instructions
- prep Your Ice Cream Bowl: Before you start, ensure your KitchenAid ice cream attachment’s bowl is frozen solid (usually 15+ hours in the freezer) for optimal churning performance.
- Warm the Milk Mixture: In a medium saucepan, combine milk and cream. heat over medium heat until warm but not boiling-around 170°F. Remove from heat.
- Whisk Egg Yolks and Sugar: In a separate bowl, vigorously whisk egg yolks and sugar until pale and thickened, about 2 minutes.
- Temper the Eggs: Slowly pour the warm milk mixture into the egg yolks, whisking constantly to prevent scrambling.
- Cook the Custard: Return the combined mixture to the saucepan. Cook gently over low-medium heat, stirring constantly with a wooden spoon or heatproof spatula. The custard should thicken and coat the back of the spoon at about 175°F. Do not boil.
- Strain and Chill: pour the custard through a fine-mesh sieve into a clean bowl to remove any cooked bits. Stir in vanilla extract and sea salt. cool to room temperature, then cover and refrigerate for at least 4 hours or overnight for the best flavor.
- Churn your Ice Cream: Attach your frozen bowl to the KitchenAid mixer fitted with the ice cream attachment. Pour the chilled custard in and run the mixer on low-medium speed for 25-30 minutes, or until it reaches soft-serve consistency.
- Add Mix-Ins: in the last 5 minutes, gently fold in any desired add-ins like chocolate chips or toasted nuts.
- Freeze for Firmer Texture: Transfer the churned ice cream to an airtight container. Freeze for 2-4 hours before scooping to achieve that perfect firmness.
Tips for Success
- Freeze the Bowl Properly: Never rush the freezing of the KitchenAid attachment bowl-proper freezing yields smoother, faster churning.
- Use Fresh Ingredients: Whole milk and fresh egg yolks make a notable difference in texture and flavor.
- Customize Flavors: Infuse your custard with herbs like mint or lavender by steeping them in the warm milk mixture before tempering eggs. Strain before chilling.
- Avoid Over-Churning: Stop the mixer once soft-serve stage is reached to prevent icy texture. Freeze further for firmness.
- Make ahead: The custard base can be made days ahead and frozen or refrigerated for up to 3 days.
Creative Flavor Combinations to Excite Your Taste Buds
Take your frozen treat beyond vanilla with inspired additions that blend seamlessly thanks to the perfect texture KitchenAid attachments provide.
- Salted Caramel Pretzel: Swirl in homemade salted caramel sauce and fold crunchy, crushed pretzels at the end of churning.
- Berry Basil Swirl: Puree fresh berries with a touch of honey and fresh basil leaves, then swirl gently into churned ice cream.
- Chocolate Orange Zest: Add 1/2 cup dark chocolate chunks and grated orange zest to a vanilla base.
- Espresso Chip: Infuse the warm milk with espresso powder or brewed espresso,then mix in dark chocolate chips.
Serving Suggestions
- Serve scoops in chilled bowls or waffle cones for impeccable freshness.
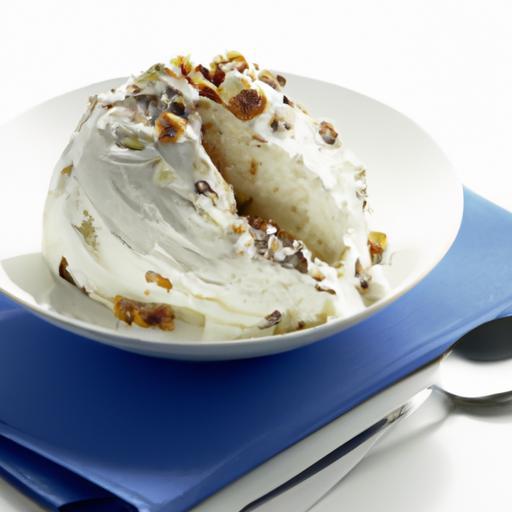
- top with fresh berries, a drizzle of homemade sauce, or a sprig of mint to enhance color and aroma.
- pair your ice cream with warm desserts like brownies or apple crisp for contrast in temperatures and textures.
- For parties, present mini ice cream sandwiches using buttery cookies-perfect handheld delights!

| Nutrient | Per Serving (1/4 Quart) |
|---|---|
| Calories | 320 |
| Protein | 5g |
| Carbohydrates | 28g |
| Fat | 20g |
For more inspiration, check out our KitchenAid dessert recipes collection. to deepen your understanding of dairy science and ice cream texture, visit Dairy Foods’ Ice Cream Science.
Q&A
Q&A: Chill & Thrill – Your Ultimate KitchenAid Ice Cream Recipe Guide
Q1: What makes the KitchenAid stand mixer ideal for homemade ice cream?
A1: The KitchenAid stand mixer is a game-changer for ice cream enthusiasts! Its dedicated ice cream maker attachment turns your trusty mixer into a creamy churn machine. The powerful motor ensures smooth, consistent mixing, while the chilled bowl freezes your mixture evenly. It’s perfect for crafting everything from classic vanilla to adventurous flavor blends, all from your own kitchen.
Q2: Do I need any special ingredients to use the KitchenAid ice cream maker attachment?
A2: Not really! Most recipes call for simple, fresh ingredients like cream, milk, sugar, and flavorings. The real magic comes from combining these basics with your creativity-think ripe strawberries, rich chocolate chunks, or a splash of espresso. The KitchenAid attachment effortlessly transforms these into silky ice cream gold.
Q3: How do I prepare the ice cream bowl before churning?
A3: Preparation is key! The KitchenAid ice cream bowl needs to be frozen for at least 15 hours (overnight is best). keep it sealed to avoid ice crystals forming inside. When ready, attach it to your mixer, pour in your chilled mixture, and let the mixer do its chilly wonders.
Q4: Can I make dairy-free or vegan ice cream with the KitchenAid?
A4: Absolutely! The KitchenAid ice cream maker isn’t picky. Whether you’re using coconut milk, almond milk, oat milk, or other plant-based alternatives, it churns up delightful non-dairy ice creams with incredible texture. Just be mindful of adjusting sweetness and fat content for the best creamy result.
Q5: What’s a foolproof recipe to start with?
A5: Try the classic vanilla bean ice cream-simple, rich, and endlessly versatile. Use whole milk, heavy cream, sugar, and real vanilla beans. Once mastered,you can branch out with mix-ins or swirls like caramel or fresh berries. The KitchenAid attachment makes churning a breeze, letting you enjoy homemade decadence in no time.
Q6: How long does the ice cream take to churn with the KitchenAid?
A6: Typically, it takes 20-30 minutes to reach that perfect soft-serve consistency. Of course, times vary based on recipe and temperature of ingredients. Once churned, you can eat it right away for a creamy treat or freeze it longer for a firmer scoop.
Q7: Any tips for getting creative with flavors?
A7: dive into your pantry and garden! Herbs like mint or basil, spices like cardamom or cinnamon, even unexpected ingredients like crushed cookies or toasted nuts add excitement. the KitchenAid’s even churning ensures every scoop bursts with balanced flavor and texture-your ice cream, your rules!
Q8: How do I clean the kitchenaid ice cream attachment?
A8: Cleaning is a breeze-just hand wash the bowl and dasher in warm soapy water. Avoid the dishwasher to keep the freezing capabilities intact. Regular care keeps your machine ready for your next chilly adventure.
Embrace the chill and thrill of homemade ice cream with your KitchenAid-where creativity meets convenience for cool, crave-worthy treats every time!
insights and Conclusions
As you wrap up your adventurous journey through the “Chill & Thrill: ultimate KitchenAid Ice cream Recipe Guide,” you’re now armed with the perfect blend of creativity, technique, and of course, deliciousness. Whether you crave classic vanilla comfort or crave boldly inventive flavors, your KitchenAid stands ready to transform simple ingredients into creamy masterpieces. So go ahead-chill those ingredients, thrill your taste buds, and turn your kitchen into an ice cream playground where every scoop tells a story. The ultimate frozen delight awaits, and with this guide in hand, you’re just a whisk away from sweet, cool bliss. Happy churning!