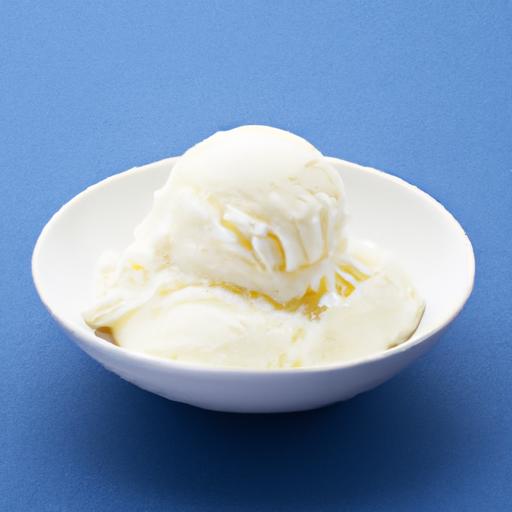
There’s something undeniably magical about homemade ice cream-the way creamy sweetness melts on your tongue, the burst of flavors customized exactly to your craving, and the joyful chill that instantly cools a warm day. In “Chill & Thrill: Master the Ultimate Homemade Ice Cream Recipe,” we invite you to embark on an appetizing adventure that transforms simple ingredients into a frozen masterpiece. Whether you’re a kitchen novice or a seasoned dessert enthusiast, this guide will unravel the secrets to crafting luscious, velvety ice cream that rivals your favorite parlor’s creations. Get ready to mix, chill, and thrill your taste buds with the ultimate recipe that turns every scoop into an unforgettable experience.
Understanding the Science Behind Creamy Ice Cream Texture
Chill & Thrill: Master the Ultimate Homemade Ice Cream Recipe begins with grasping the magic behind that irresistibly smooth, creamy texture. Ice cream’s velvety softness comes from carefully balanced ingredients combining fat, sugar, and air – each playing a vital role. Fat coats the tongue, enriching flavor and creaminess, while sugar lowers the freezing point, preventing icy crystals. The process of churning whisks air into the base, transforming it from a dense liquid into a light, scoopable delight. Controlling these elements ensures each bite melts luxuriously in your mouth, delivering that perfect indulgence.
Selecting the Finest Ingredients for Flavorful Homemade Creations
Nothing elevates your homemade ice cream like the quality of your ingredients. Choose full-fat cream and whole milk as your foundation to guarantee creaminess. Fresh, farm-to-table eggs enrich the custard base, lending natural depth and silkiness. Opt for pure vanilla extract or real vanilla bean pods instead of artificial flavorings for an aroma that resonates with every spoonful. When it comes to sweeteners, fine granulated sugar dissolves evenly, but brown sugar can add hints of caramel complexity. The freshest seasonal fruits, crunchy nuts, or premium chocolates will accentuate your creation – each selected with intention, to thrill the palate.
Step-by-Step Guide to Crafting Your Perfect Ice Cream Base
Ingredients
- 2 cups whole milk
- 2 cups heavy cream
- ¾ cup granulated sugar
- 5 large egg yolks, room temperature
- 1 tablespoon pure vanilla extract or 1 vanilla bean, split
Instructions
- In a heavy-bottomed saucepan, combine whole milk and heavy cream. If using a vanilla bean, scrape seeds and add both seeds and pod. Heat on medium until the mixture just begins to simmer, stirring occasionally.
- In a separate bowl, whisk together the egg yolks and granulated sugar until pale and creamy, about 2 minutes using a hand whisk.
- Temper the yolks by slowly adding about ½ cup of the warm milk mixture into the eggs while whisking constantly to prevent curdling.
- Pour the tempered yolk mixture back into the saucepan with the remaining milk mixture. Cook gently over low heat, stirring continuously with a wooden spoon or silicone spatula until the custard thickens enough to coat the back of the spoon. Do not boil.
- Remove from heat, strain the custard through a fine sieve into a clean bowl to remove any cooked egg bits.
- Stir in the pure vanilla extract if not using a vanilla bean. Allow to cool to room temperature, then refrigerate for at least 4 hours or overnight to deepen flavor.
- Churn in your ice cream maker according to manufacturer instructions until thick and creamy, about 20-25 minutes. Transfer into a container and freeze until firm.
Creative Mix-Ins and Toppings to Elevate Every Scoop
Once your creamy base is perfected, the fun of customization begins. Swirl in ribbons of homemade salted caramel, chunks of buttery shortbread cookies, or vibrant berries to surprise your guests with every spoonful. Toasted nuts like pistachios or pecans add satisfying crunch and earthiness, while shards of dark chocolate provide a bittersweet contrast. For a playful twist, infuse a batch with unexpected herbs like lavender or basil, or drizzle with a tangy fruit coulis. Remember to fold in delicate mix-ins during the last few minutes of churning to maintain their texture. And don’t forget a sprinkle of flaky sea salt on top – it enhances sweetness and rounds out flavor with a subtle pop.

Prep and Cook Time
- Prep Time: 15 minutes
- Cook Time: 20 minutes (plus chilling time)
- Chilling Time: 4 hours to overnight
- Freezing Time: 4 hours
Yield
Serves 6 generous scoops
Difficulty Level
Medium – requires basic custard-making skills and patience during chilling and churning
Tips for Success
- Quality eggs: Use the freshest eggs you can find for a smooth custard with no off flavors.
- Temperature control: Never rush the cooking process by increasing the heat; low and slow thickens the custard perfectly without scrambling eggs.
- Pre-chill mixture: Cooling your base wholly before churning improves texture and reduces churn time.
- Don’t overfill your ice cream maker: Leave room for expansion as air is incorporated during churning.
- Mix-in timing: Fold delicate mix-ins like fruit just before the end of churning to keep their texture.
- Make ahead: The base can be made up to 2 days in advance and refrigerated, or frozen up to 1 month (thaw overnight before churning).
Serving Suggestions
Serve your homemade ice cream in chilled bowls to keep it cool longer. Top with fresh mint leaves, a dusting of cocoa powder, or a drizzle of warm chocolate ganache for elegant presentation. Pair with crisp, buttery biscotti or homemade waffle cones for that authentic parlor experience. For a decadent treat, add a scoop atop warm fruit cobbler or a slice of rich chocolate cake.
| Nutrient | Per Serving (1 scoop) |
|---|---|
| Calories | 220 |
| Protein | 4g |
| Carbohydrates | 22g |
| Fat | 14g |
For further inspiration, explore our collection of decadent desserts. Also, educate yourself on milk’s role in custards at the National Dairy Council.
Q&A
Q&A: Chill & Thrill – master the Ultimate Homemade Ice Cream Recipe
Q1: What makes homemade ice cream better than store-bought?
A: Homemade ice cream is a canvas for creativity and freshness. Unlike store-bought versions, you control every ingredient-from the creaminess level to the boldness of flavors-ensuring no artificial preservatives or stabilizers. Plus, the satisfaction of churning your own chilly delight? Pure magic.
Q2: What are the essential ingredients for the ultimate homemade ice cream?
A: At its core, it’s simple: fresh cream, whole milk, sugar, and your choice of flavorings (vanilla bean, cocoa, fresh fruit, or nuts). The secret trick? Egg yolks for creaminess and a custard base for that velvety smooth texture that melts perfectly.
Q3: Can I make ice cream without an ice cream maker?
A: Absolutely! Whisk and freeze your way to frozen bliss using methods like the “freeze and stir” technique or the ziplock bag ice bath trick. It takes a little elbow grease but yields surprisingly creamy results-proof you don’t need fancy gadgets to chill and thrill.
Q4: How do I get rid of ice crystals for a smooth texture?
A: The key is slow, consistent freezing with intermittent mixing to break up ice crystals. Egg yolks in your custard help inhibit crystal formation, and alcohol-based extracts or even a splash of vodka can prevent hard freezing. Patience is your best friend here-slowly churn or stir multiple times during the freezing process.
Q5: What are some creative flavor ideas to thrill my taste buds?
A: Go beyond vanilla! Try lavender honey, salted caramel swirl, roasted pistachio, or spicy chili chocolate. Fresh herbs like basil or mint add refreshing twists, while mix-ins like crushed cookies or toasted coconut bring delightful texture surprises.
Q6: How long can I store homemade ice cream?
A: Treated like treasure, homemade ice cream lasts about 2 weeks in an airtight container in your freezer. For best results, enjoy it within the first week when texture and flavor are at their peak. Remember to keep it tightly covered to prevent freezer burn and flavor absorption.
Q7: Any tips for serving and garnishing?
A: Serve your chilled masterpiece in pre-cooled bowls to slow melting. Garnish creatively with fresh berries, a drizzle of homemade sauce, or a sprinkle of toasted nuts to heighten both visual appeal and taste. A sprig of mint or edible flowers can turn your ice cream into an artful dessert.
Q8: How can I make this recipe more kid-friendly?
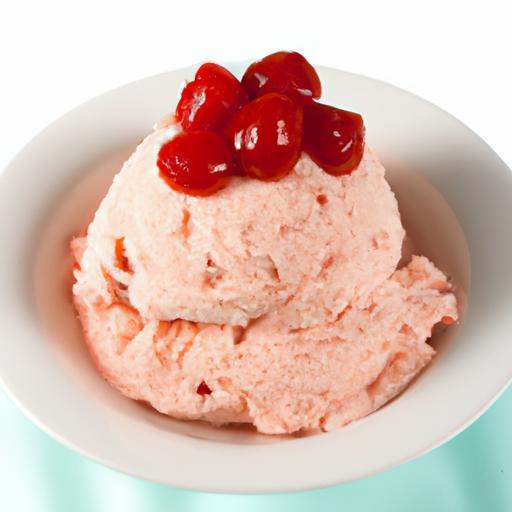
A: Involve little hands with fun mix-ins like rainbow sprinkles, mini chocolate chips, or swirls of peanut butter. Opt for natural sweeteners like honey or maple syrup, and keep the flavors simple-think classic vanilla or strawberry. Kids love the magic of seeing liquid turn into scoopable joy!
Whether chilling solo or thrilling your guests, mastering homemade ice cream is a delicious adventure-one scoop at a time. Ready to whip up your own frozen fantasy? Grab your ingredients, embrace the chill, and let the thrilling flavors unfold!
The Way Forward
As you savor the final spoonful of your homemade ice cream masterpiece, remember that the magic is not just in the flavors but in the journey-the chill of anticipation and the thrill of creation. With this ultimate recipe in your culinary arsenal, every scoop becomes an invitation to explore endless possibilities, from classic creams to adventurous twists. So, whether you’re cooling down on a scorching day or adding a sweet finish to a festive night, let your homemade ice cream be a reminder that the perfect treat is one crafted with passion, patience, and a sprinkle of creativity. Now, it’s your turn to chill, thrill, and delight in every luscious bite.